Spiral Pencil
Instead of enduring 3D FDM printing layer lines as a flaw, I wanted to turn them into an aesthetic strength. The goal: to break away from the smooth, standardized look of plastic injection to give the object real character. The solution quickly became obvious: to embrace and exaggerate the layer thickness to make them massive and graphic.
The Approach
In 3D FDM printing, the following settings are generally recommended:
- Layer thickness: between 20% and 80% of the nozzle diameter.
- Layer width: between 75% and 150% of the nozzle diameter.
Yet, it is possible to print 1 mm thick layers with a 0.4 mm nozzle (which represents a thickness of 250% of the nozzle diameter!). The trick is to also exaggerate the width of the printed filament so that the material is well squished and stable as it exits the nozzle.
After numerous tests, a width equivalent to 250% of the layer thickness proved to be the best compromise (meaning 2.5 mm wide for a 1 mm thickness). This ratio prevents the print from collapsing, thus avoiding a "wavy" extrusion caused by the growing gap between the nozzle and the part. While it might be possible to optimize this setting by cooling the part more, this remains the most conclusive result I have obtained.
However, imposing such a line width makes printing details very complex. Switching to a 1.4 mm nozzle made it possible to confidently print 1 mm thick layers at only 1.7 mm in width. Indeed, a layer thickness of 1 mm is much more conventional for a nozzle of this caliber.
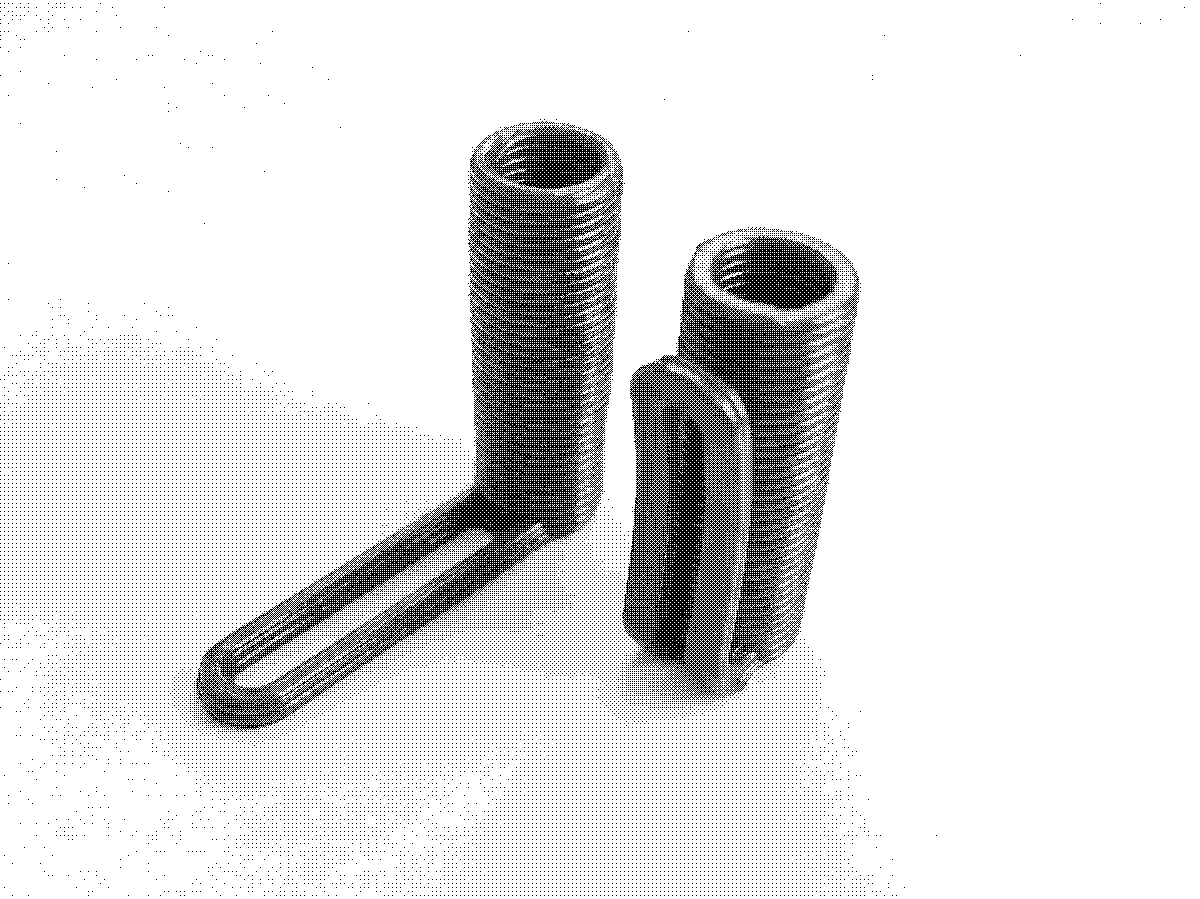
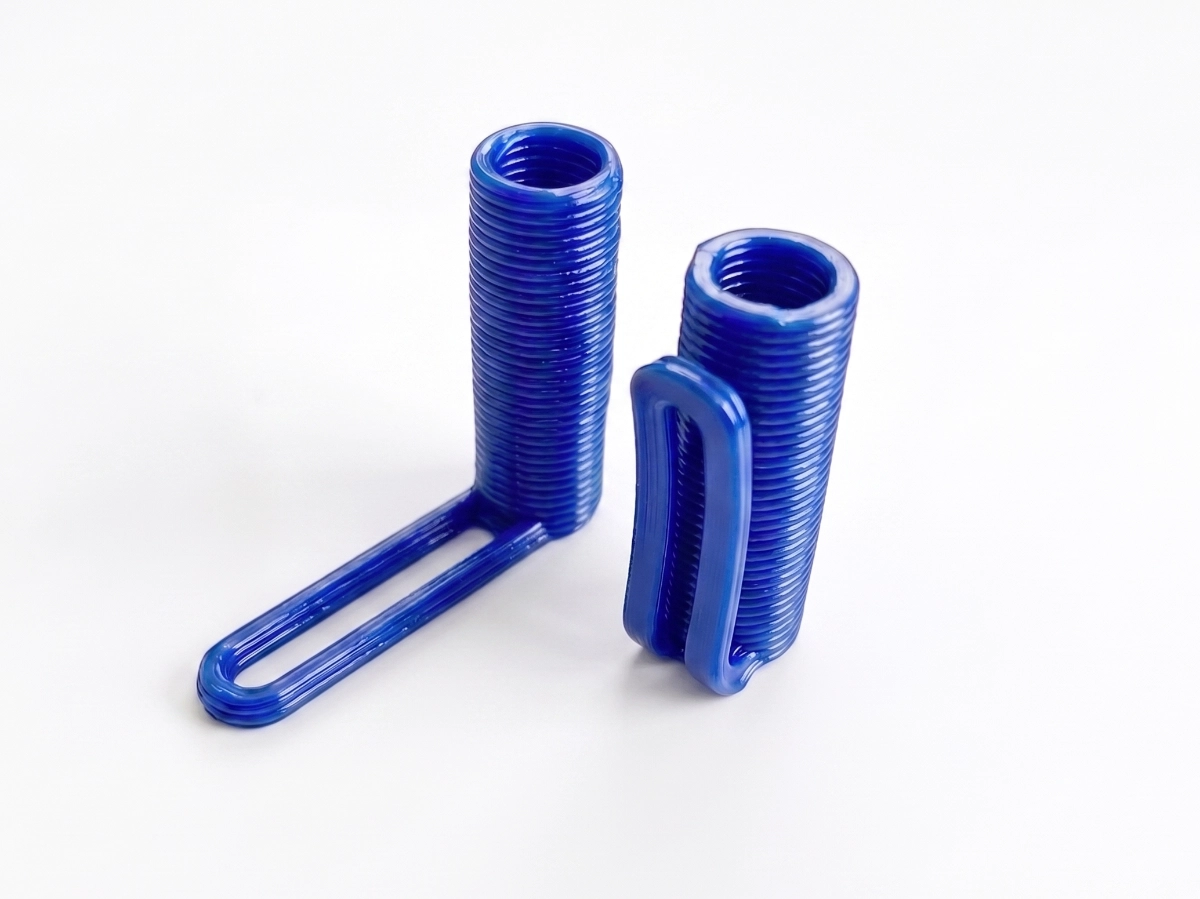
The Pen
For the design of this pen, the final settings were settled at 1 mm thick layers for a 2 mm width. This ratio offers an excellent grip while making it easy to slide a BIC Cristal refill inside.
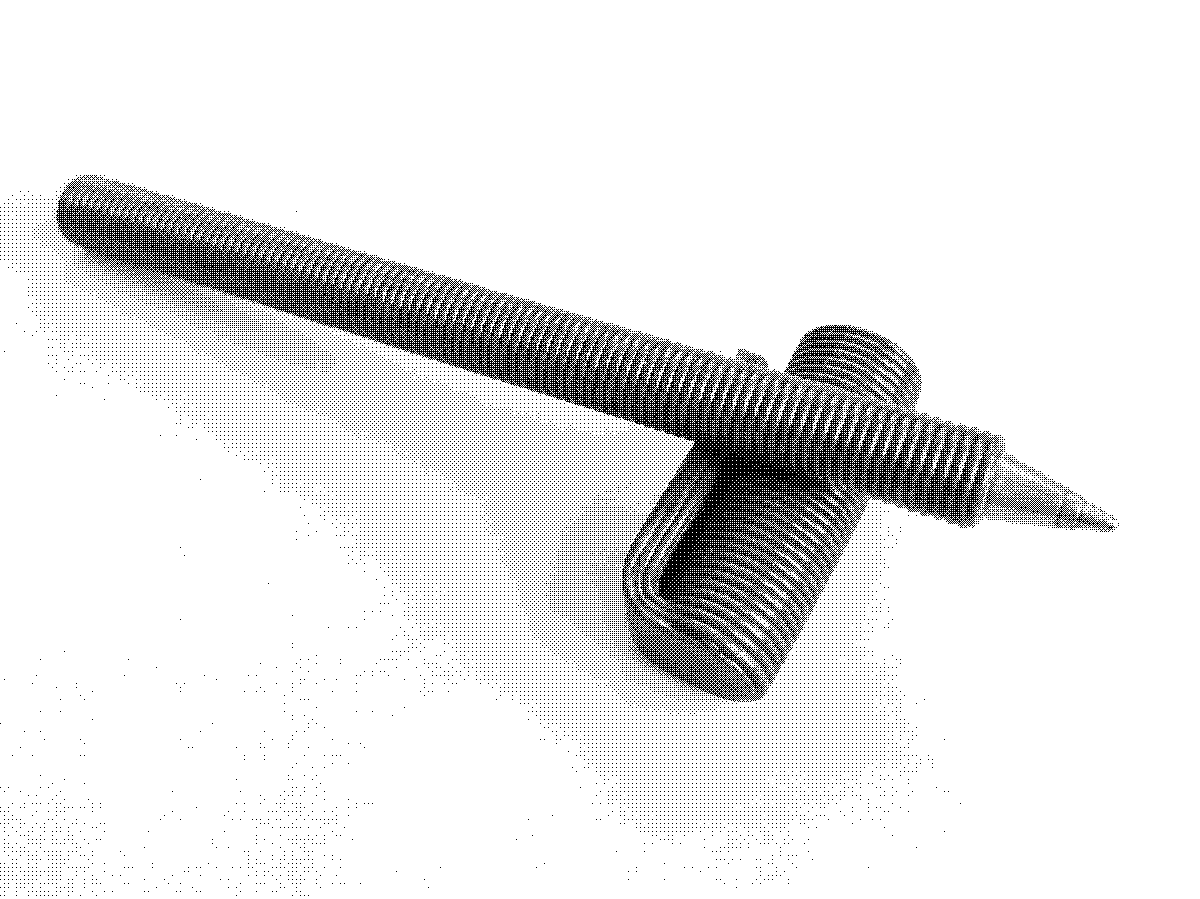
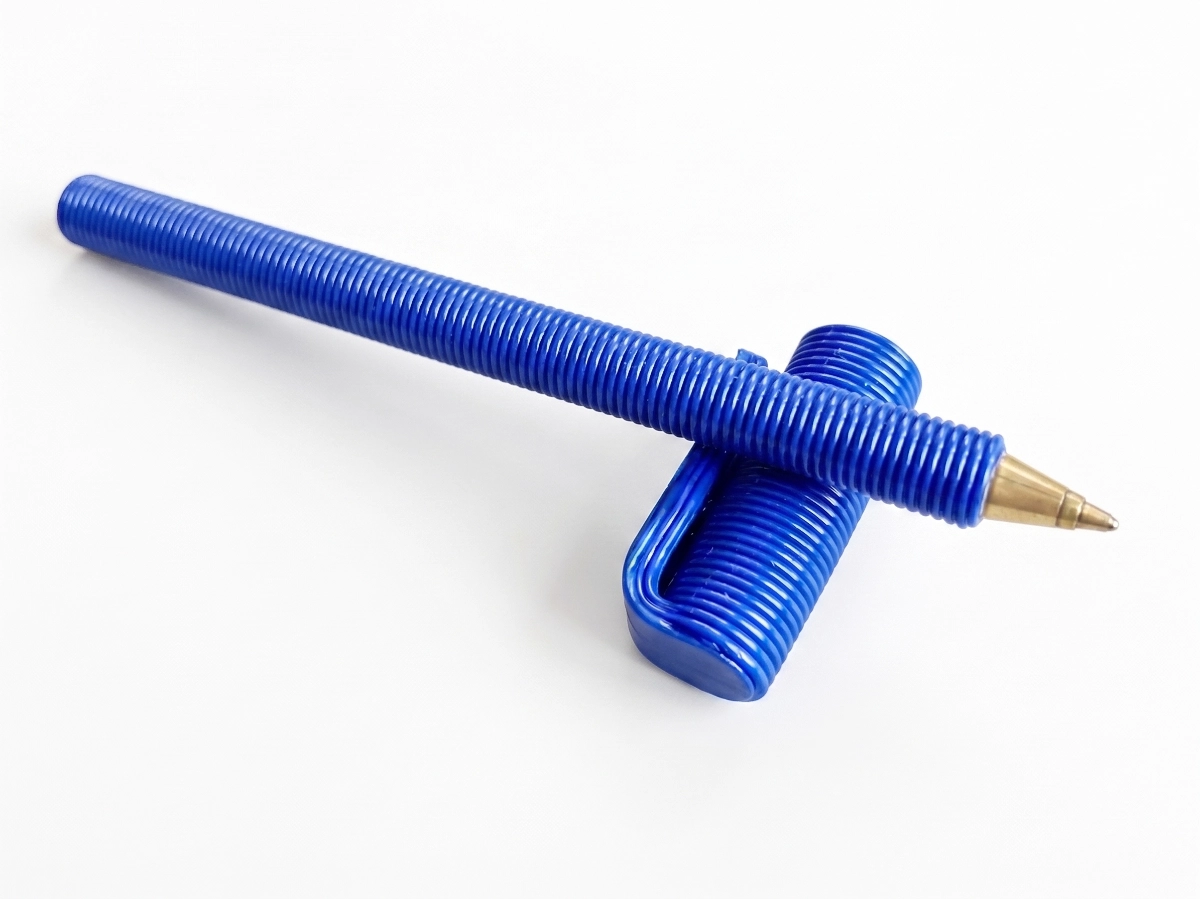
The design stands out through two clever design features:
- A natural thread: The very thick layers directly serve as a screw thread. The slightly conical cap first slides on for 25 mm before screwing onto the pen's body. This system works at both ends so the cap isn't lost while writing.
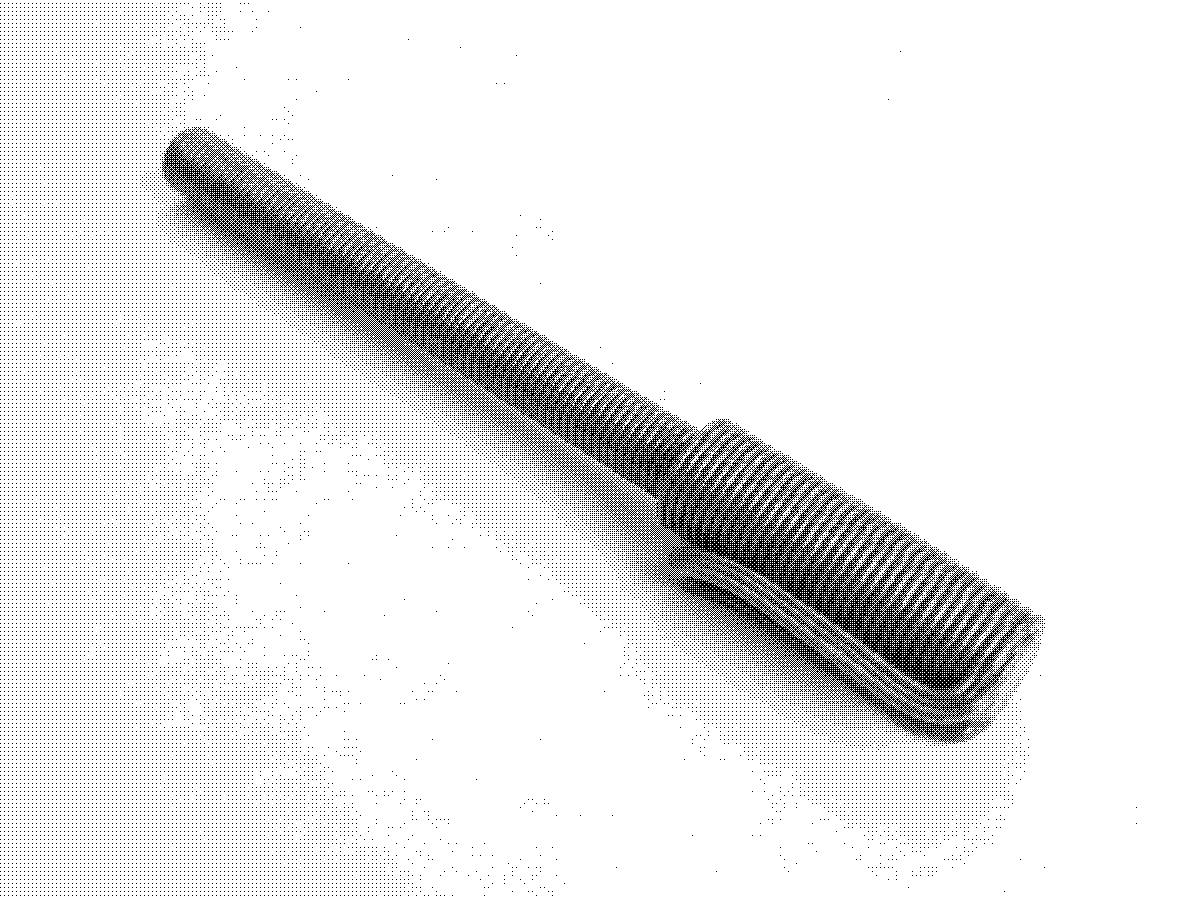
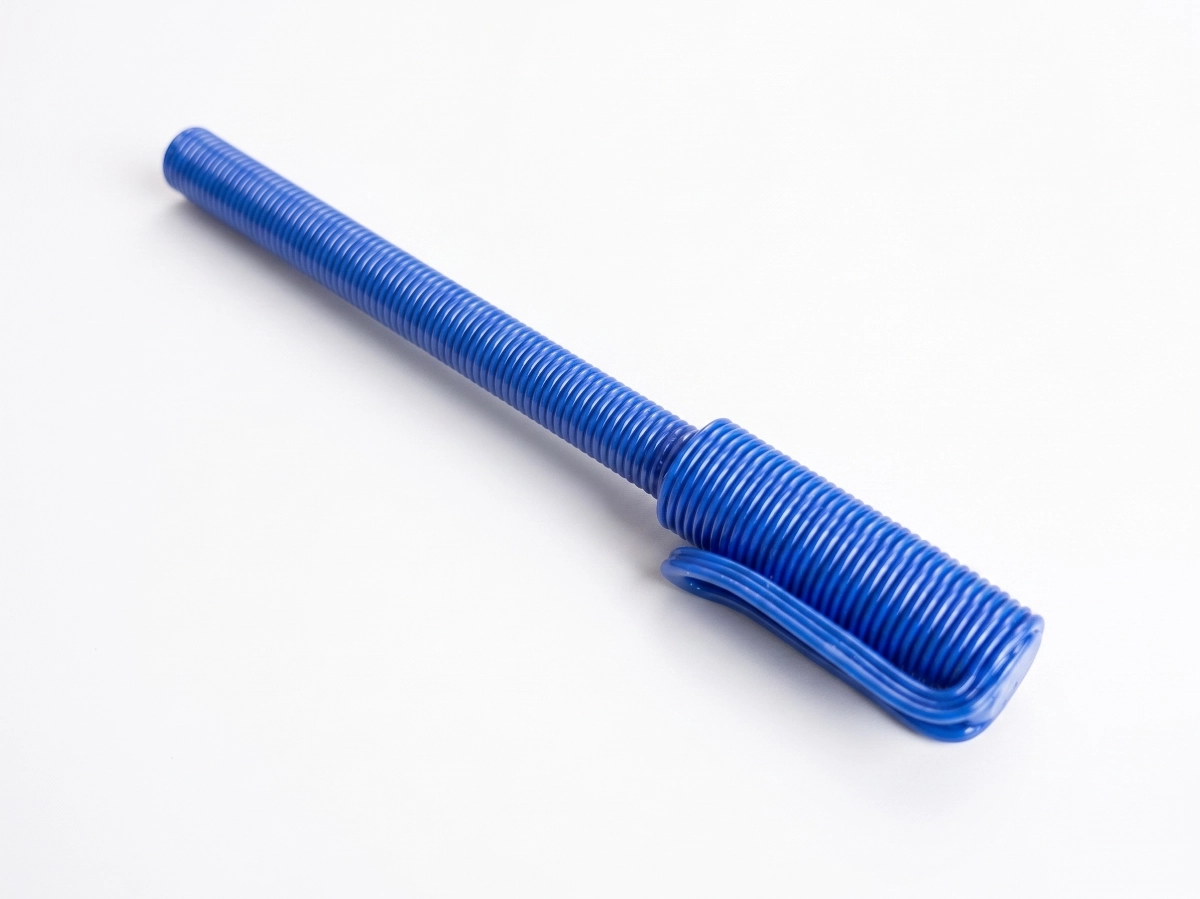
- A thermoformed clip: To get a sturdy clip on the cap while respecting the constraint of the thick layers, I printed a loop flat. I then bent it into its final shape by thermoforming it with a hot air soldering iron.
Materials Used
- Francofil Blue PLA (RAL 5002)
- BIC Cristal refill